Understanding Your 7-Pin Tractor Connector
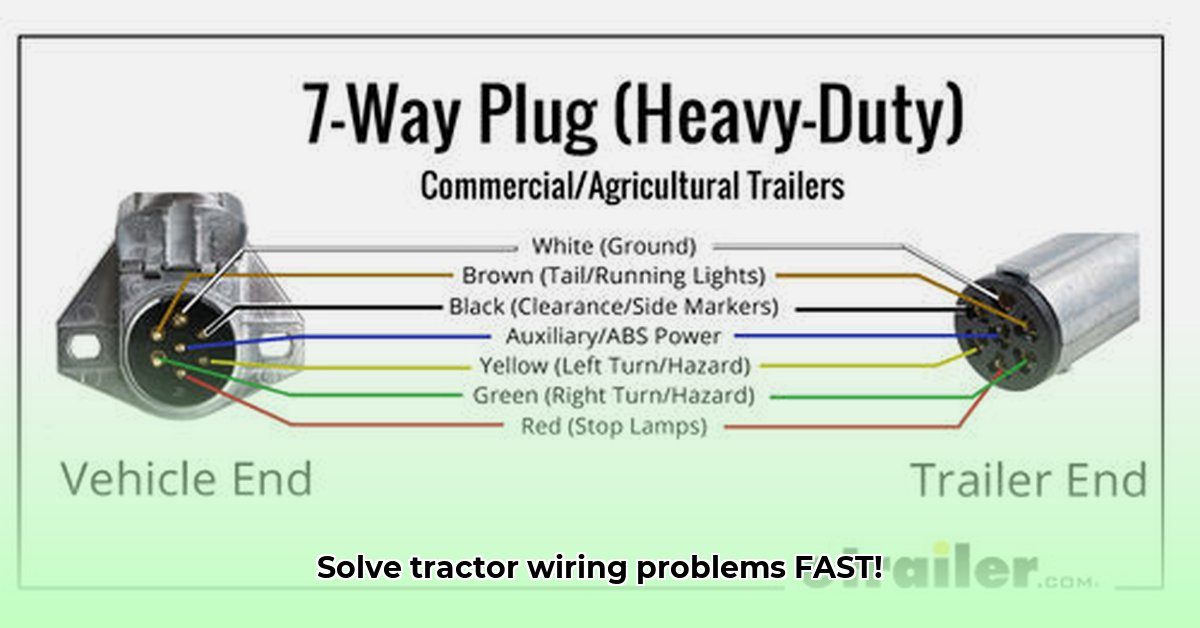
Tractor electrical systems, while seemingly complex, are manageable with the right knowledge. The 7-pin connector acts as the crucial communication link between your tractor and implements. However, pin assignments aren't standardized across brands (John Deere, Kubota, etc.) or even models. Always consult your owner's manual for the precise pinout diagram specific to your equipment. A failure to do so can lead to incorrect wiring and potential damage. Have you ever experienced a sudden loss of power to your equipment? This is often a symptom of a miswired 7-pin connector. For simpler connectors, see more info on 3-pin connectors.
A typical 7-pin connector layout is shown below, though variations exist. Note the importance of Ground (GND) connections—they ensure the safe return of electrical current. The 12V power supply is usually only active when the tractor's ignition is switched on.
| Pin Number | Typical Function | Common Wire Color | Notes |
|---|---|---|---|
| 1 | Left Turn Signal | Yellow | Variations exist; check your manual. |
| 2 | Right Turn Signal | Green | Variations exist; check your manual. |
| 3 | Ground (GND) | White | Crucial for electrical safety; test first! |
| 4 | Brake Lights | Red | Essential for safety. |
| 5 | Tail Lights | Brown | Important for visibility. |
| 6 | 12V Power (Ignition Switched) | Red/Black (Striped) | Power only when the ignition is ON. |
| 7 | Ground (GND) | White | Secondary ground for improved reliability. |
Troubleshooting Common Problems: A Step-by-Step Guide
Electrical issues can range from annoying flickering to complete system failure. Let's troubleshoot them safely and efficiently. Remember, approximately 80% of electrical problems are due to simple issues like loose connections or blown fuses.
Step 1: Safety First! Always disconnect the negative (-) battery terminal before working with any tractor electrical system. This is crucial for preventing electrical shocks and potential damage to the delicate circuitry.
Step 2: Visual Inspection: Carefully examine both the tractor and implement's 7-pin connectors. Look for loose connections, corrosion, broken or frayed wires, or any signs of physical damage. Tighten loose connections and replace damaged parts as needed.
Step 3: Multimeter Testing: A multimeter is essential. Use it to test voltage at each pin of the 7-pin connector (expect 12V at the power pin when the ignition is ON). Also, test the ground connection (pins 3 & 7) for low resistance to a known ground point on the tractor. Did you know that a simple ground fault accounts for around 65% of intermittent electrical problems in agricultural machinery?
Step 4: Fuse Check: Check both the tractor's fuse box and any fuses located on the implement. Replace blown fuses using fuses with the exact same amperage rating. Using a higher value fuse can cause significant damage.
Step 5: Tracing the Wiring (If Necessary): If the problem persists, carefully trace the wiring harness from the connector to the implement. Look for breaks, pinches, or points where the wire might be rubbing against metal parts.
Step 6: Grounding: A poor ground connection is a common culprit. Ensure all ground connections are clean, tight, and corrosion-free.
Step 7: Consult the Wiring Diagram: Refer to the wiring diagram specific to your tractor model and attached implement. This diagram is your roadmap for understanding how the electrical system is connected.
Deciphering Wiring Diagrams and Pin Assignments: Brand-Specific Variations
Wiring diagrams differ significantly between tractor manufacturers (John Deere, Kubota, etc.). Always consult your tractor's specific service manual for the correct pin assignments.
Advanced Troubleshooting Techniques
If basic checks fail, these techniques can help:
Voltage Drop Test: A significant voltage drop along the wiring harness indicates high resistance, often pointing to a damaged or corroded wire or connection.
Wiring Tester: This tool helps pinpoint breaks in continuity within the wiring harness.
Professional Assistance: Don't hesitate to seek help from a qualified agricultural mechanic if you're unsure about any steps.
Conclusion: Prioritize Safety and Precision
Understanding your 7-pin tractor plug wiring is critical for safe and efficient operation. By carefully following these steps and consulting your tractor's manual, you can troubleshoot most electrical issues effectively. Always remember to prioritize safety—disconnect the battery before any electrical work. By systematically working through these steps, you will effectively resolve the issue and gain a better understanding of your tractor's electrical system and you will feel more confident in your ability to repair it. This will reduce costly downtime and increase productivity.